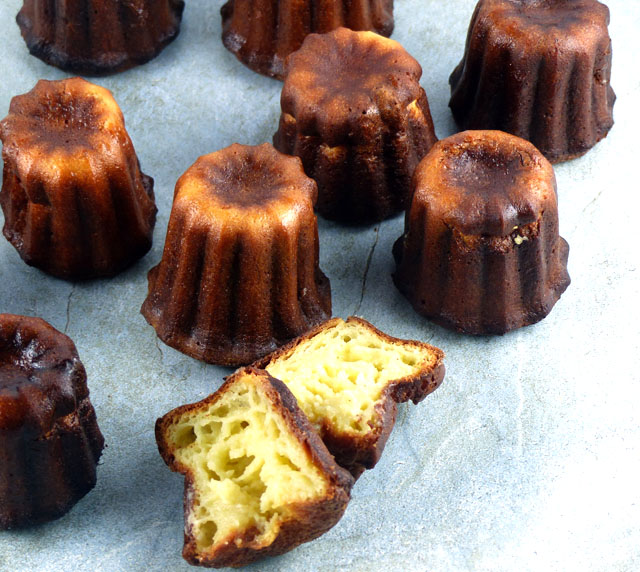
Bordeaux is famous for fine wines, but less well known and also noteworthy are the city’s iconic pastries called canelés. These small fluted cakes are similar in shape to mini Bundt cakes, but they’re more cylindrical with a small impression, rather than an opening, at the top. The crust is crisp and caramelized, while the rum-and-vanilla-flavored center is custardy—pure magic!
Although we don’t know who created the recipe, interesting legends describe the canelé’s origins. According to one story, prior to the French Revolution, nuns from a local convent made use of egg yolks left over from wine making to make the cakes. (Winemakers used egg whites to clarify wine.) Another story relates that the pastries were a way of using flour that had been spilled on the docks in Bordeaux. Residents used this flour to make treats for poor children.
The word canelé refers to the shape. The French word cannelé means “fluted,” and it describes the distinctive ridged sides of the pastry. Notice that cannelé is spelled with two n’s, while the word for the pastry is written with one n. Well, there’s a reason for that. In 1985 a group of Bordeaux pastry chefs organized a confrérie or brotherhood. To distinguish their authentic canelés from “imposters,” they removed one n from the spelling.
Made with eggs, milk, sugar, flour, and rum and vanilla flavoring, the batter couldn’t be simpler. It is easy to blend the mixture in a food processor until smooth. But there is one critical detail: the batter must be chilled overnight prior to baking.
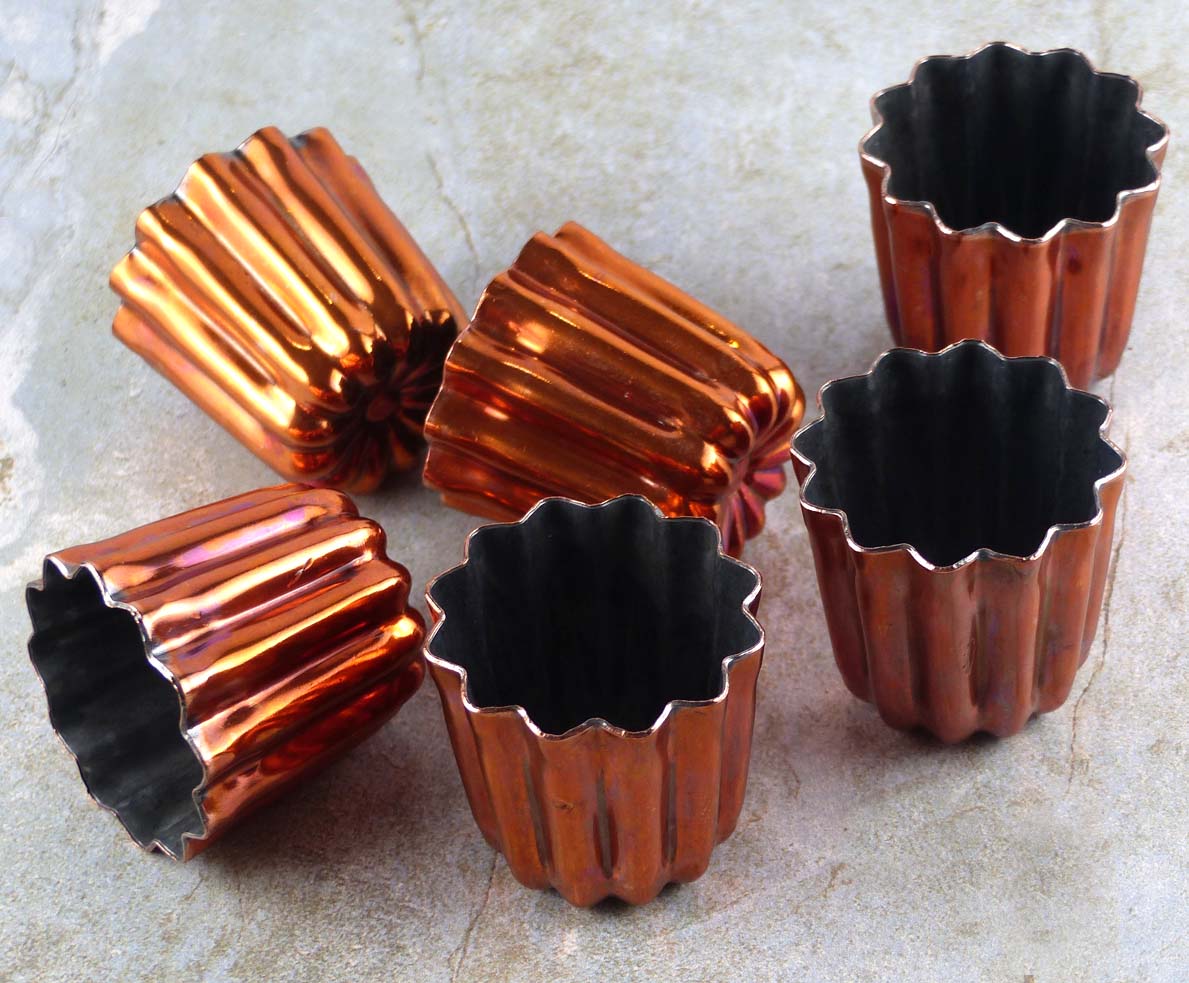
To achieve the pastry’s distinctive shape and caramelized crust, you need special canelé molds. The ridges of the molds are important because the shape maximizes the surface area, allowing for more of the appealing crust. True canelé molds are made of copper, which has superior heat-conducting properties, with a tin lining. They are beautiful but very expensive—at least $10 per individual mold. A more economical option is silicone molds, which you can find for about $10 for eight canelés.
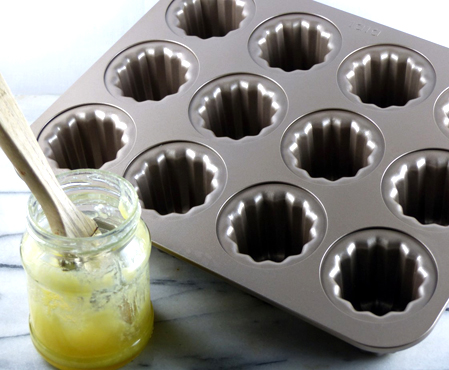
I purchased my first molds at the beautiful housewares store Arthur Quentin in Montreal. (Sadly, the store closed in 2019.) They were made of silicone. The canelés were okay but not as crisp and evenly browned as I would like. Several years ago I was delighted to find molds made from carbon steel (manufactured in China, of course!) at a reasonable price online, $24 for a 12-cup mold. I’ve been happy with the results. But last fall, while visiting Bordeaux, I made a beeline to Baillardran, the bakery famous for canelés, where I was able to purchase individual copper canelé molds and sample a canelé authentique.
For several years, I followed Paula Wolfert’s recipe for canelés, which is published in The Slow Mediterranean Kitchen (2003). Wolfert’s recipe specifies a number of precise details, such as using cake flour and superfine sugar, and coating the molds with a mixture of melted beeswax and oil. She also recommends freezing the molds before adding the batter.
The molds I purchased at Baillardran came with a recipe. It’s similar to Wolfert’s but far simpler. It calls for all-purpose flour and granulated sugar and suggests using softened butter to coat the molds. My results have been great. I’ve translated the recipe and adapted the metric weights to U.S. volume measures. I share it with you below.
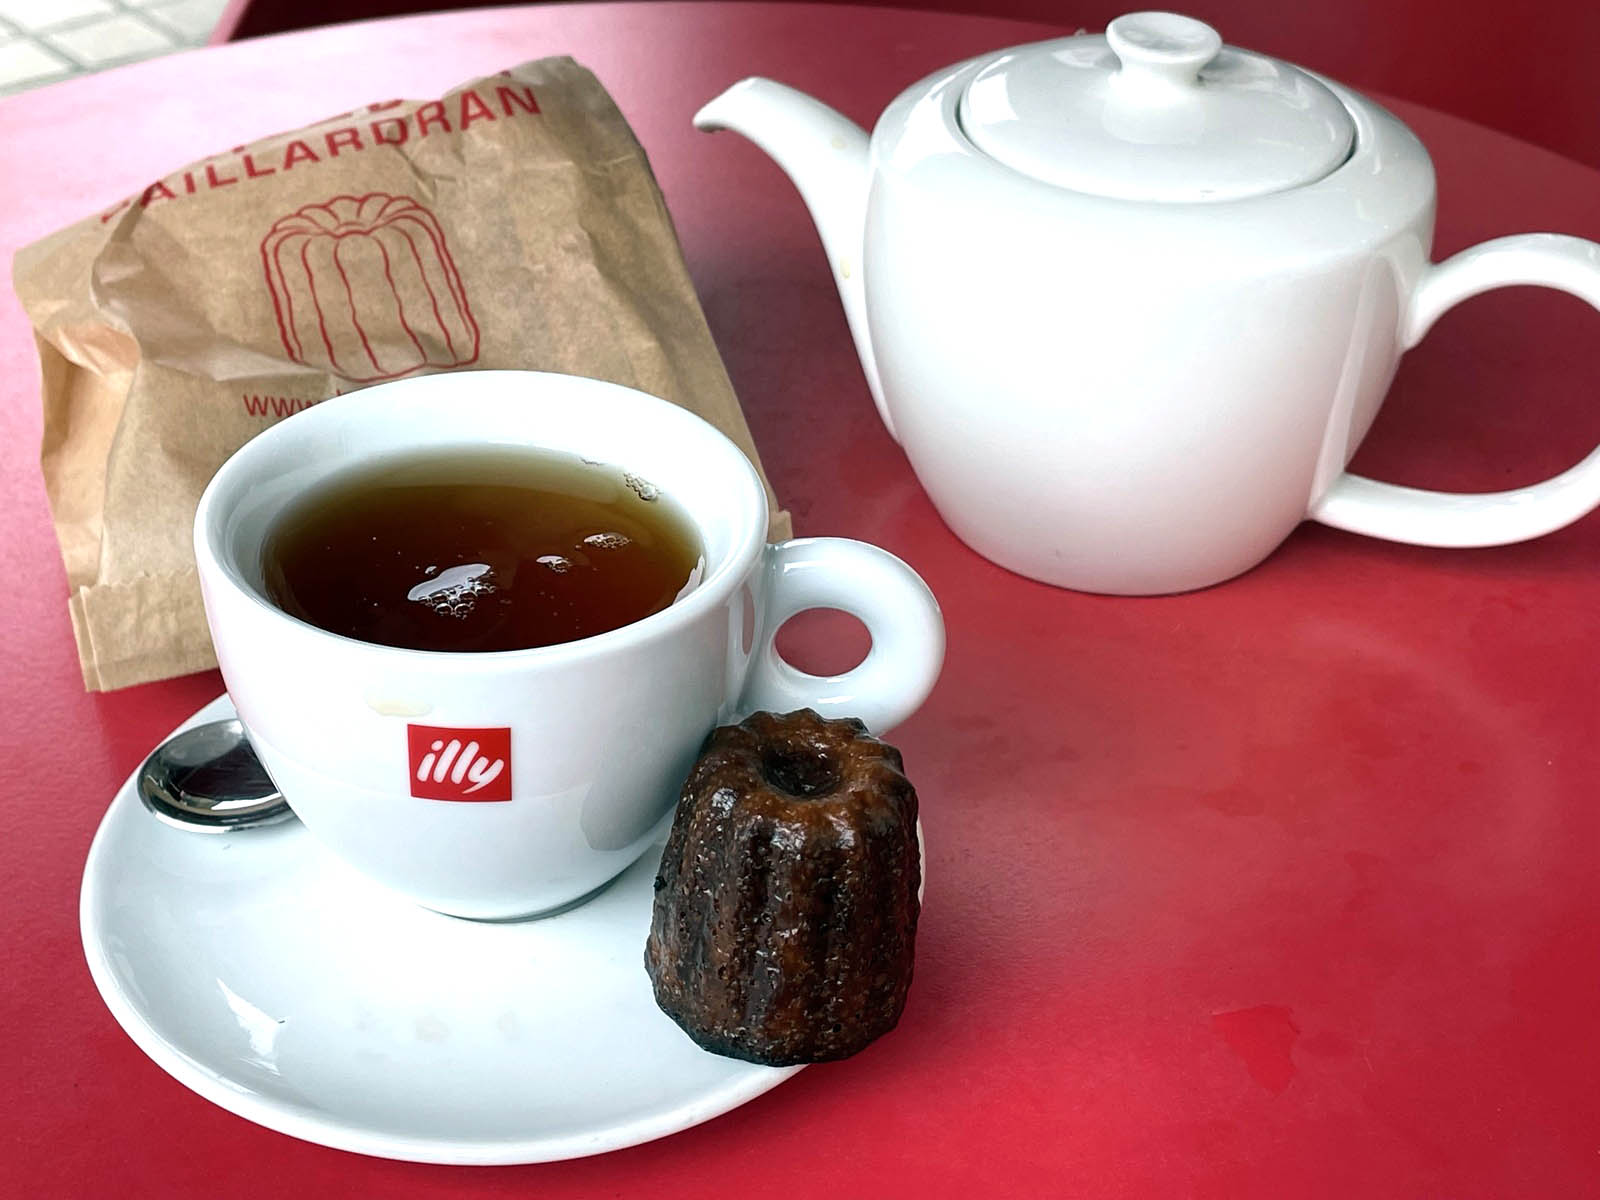
As I’m not a member of the Confrérie du Canelé de Bordeaux, I can’t claim that the canelés I bake in my Vermont kitchen are authentic. (Perhaps I should spell cannelés with two n’s.) But little cakes are always delicious, perfect with a cup of afternoon tea. Of course, you can also serve them for breakfast or dessert.
The Recipe
Equipment: Food processor, canelé molds. Be sure to follow the directions provided by the manufacturer for seasoning and cleaning the molds.
Timing: Prepare the batter (Step 1) at least 1 day before baking.
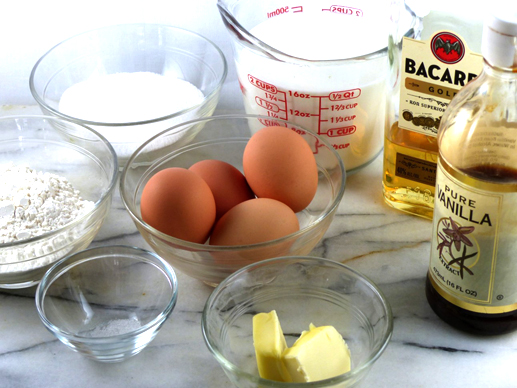
Ingredients:
2 cups granulated sugar
1 cup all-purpose flour
Pinch of fine salt
4 tablespoons (2 ounces) butter, cut into small pieces
2 large eggs
2 large egg yolks
2 cups whole milk
3 tablespoons rum
1 teaspoon vanilla extract
Softened butter or white oil (see Note below) for coating the molds
Preparation
1. Combine the sugar, flour, and salt in a food processor. Pulse to blend. Add the butter, and pulse until the butter is finely chopped. Add the whole eggs and egg yolks, and pulse until blended. Heat the milk in a small saucepan until it is steaming hot, and tiny bubbles form around the sides of the pan, but not boiling. With the motor running, pour the hot milk through the feed tube into the sugar mixture. Add the rum and vanilla. Process until the batter is very smooth, scraping the sides as needed. Scrape the batter into a storage container, cover, and refrigerate overnight or for up to 2 days.
2. Set the rack in the lower third of oven. Preheat to 400°F. Brush the canelé molds evenly with softened butter or white oil.
3. Whisk the batter to redistribute the flour. Fill the canelé molds about three-quarters full. If you’re using individual molds, place them on a baking sheet. Bake the canelés until the tops are brown, and the sides are a deep brown and caramelized, about 45 minutes, depending on the size and material of the molds. During baking, the canelés will puff, then fall and settle. (You will probably have to bake the canelés in two batches. Be sure to let the molds cool completely before wiping clean and re-coating with butter or white oil.)
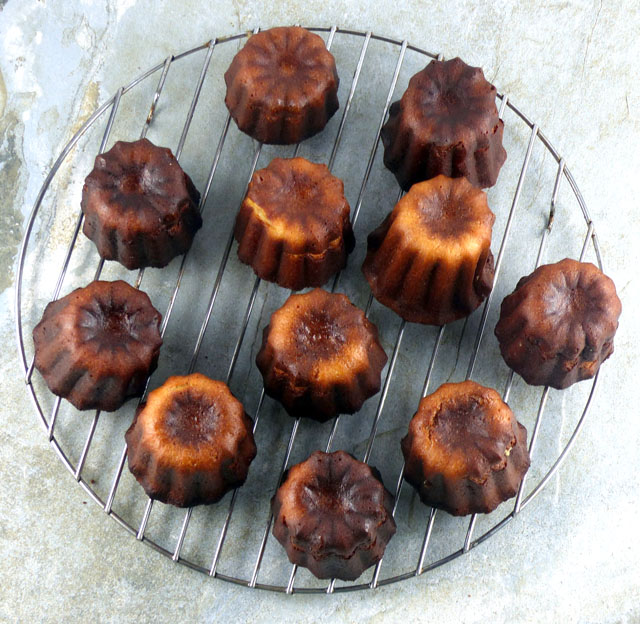
4. When the canelés are ready, remove them from the oven. Immediately loosen the edges with a bamboo skewer or toothpick. Turn the canelés out onto a rack to cool completely, about 30 minutes. The canelés will crisp up as they cool. They are best served the day they are baked. You can freeze any leftover canéles. Re-crisp them in a 350 ° oven for about 5 minutes. Let them cool before serving.
Makes about 20 canelés. The yield may vary, depending on the size of the molds used.
Note. Here are Paula Wolfert’s instructions for making white oil: Place 1 ounce of beeswax in a 2-cup glass measuring cup. Place the measuring cup in a saucepan of barely simmering water until the beeswax has melted. Remove the measuring cup from the saucepan. Slowly stir in 1 cup of neutral vegetable oil, such as safflower or avocado oil, into the melted beeswax. Use caution, as beeswax is highly flammable. (You can find it at City Market in Burlington. It may also be available at a local apiary.) Store the white oil, covered, in a dark place, away from heat-producing appliances.
—Patsy Jamieson